Welcome to my blog post on “How to Install a Camera at Apartment Door?”
With increasing concerns over security and safety, more and more people are looking to install cameras at their apartment doors to protect their homes and belongings.
However, the process of installing a camera can seem daunting, especially if you have no prior experience. That’s why in this blog post, we will guide you through the step-by-step process of installing a camera at your apartment door.
We will cover everything from selecting the right camera to finding the right location to ensuring proper installation and setup. Whether you’re a homeowner or renter, this guide will provide you with all the information you need to install a camera at your apartment door and enhance your security.
By following these simple steps, you can have a fully functioning camera installed at your apartment door in no time. So, let’s dive in and learn how to install a camera at your apartment door!
If you wonder, can you put a camera at your apartment door or not? Let’s read this post.

Steps Of Installing A Camera On Apartment Door
Find here the step-by-step process of installing a camera in your entry door so that you can ensure your security at the highest level.
Step 1: Choose The Right Location For Your Camera
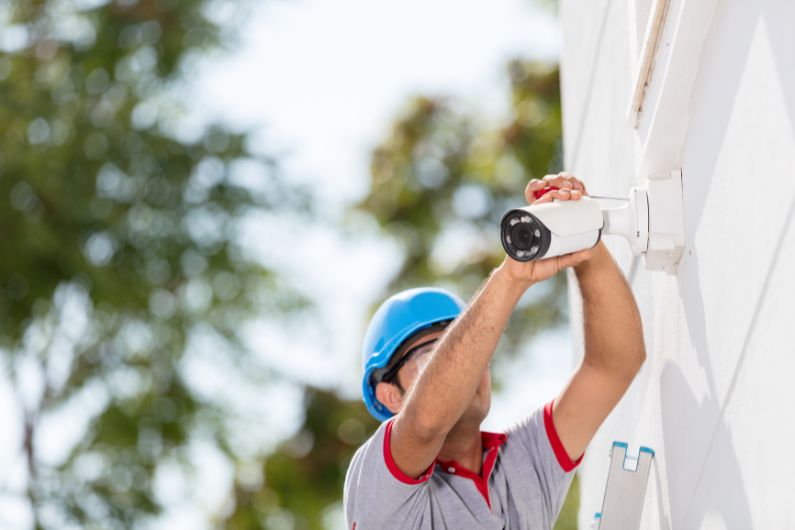
The best location to mount a camera on an entry door is at least 8 feet above the ground, or higher if possible, to prevent tampering or vandalism. This allows for maximum coverage and visibility of the front door area while providing some privacy from passersby.
Consider any existing outdoor lights that may interfere with the camera’s field of view and adjust accordingly.
Step 2: Prepare The Mounting Surface As Needed
Before beginning installation, use a level to make sure that the mounting surface is level, and clean it of any dirt or debris that could affect adhesion.
Step 3: Do The Drilling Work
If you’re drilling into concrete or brick, use masonry anchors; if you’re drilling into wood, use screw anchors. Make sure your anchor holes are slightly smaller than screws so they fit snugly and don’t damage your material when inserted.
Step 4: Position The Camera Securely And Adjust It
Set the camera in the right position and adjust it as needed so that it has an unobstructed view of both people entering and leaving your home. Make sure that the power source is within reach of where you’ll be mounting it before proceeding with the installation.
Note: Keep in mind that for optimal protection from tampering or vandalism, you should place cameras at least 8 feet (2.44 m) high or higher.
If this isn’t feasible due to privacy concerns, consider alternate mounting configurations, such as under eaves or on lower levels, using a protective housing or bracketing system designed specifically for outdoor use.

Step 5: Connect Your Security Camera
It is now time to connect it to the power source after it has been correctly installed. Before you begin, tape down all relevant wires with electrical tape. Take the required precautions during installation to avoid water damage caused by rain or snow accumulation (especially important for outdoor installations).
Step 6: Connect It Directly To Your Smart Home Systems
Connect your security camera directly to existing smart home systems like Google Home, Amazon Alexa, Apple HomeKit, etc., if applicable (some security cameras may require additional hardware such as bridges).
Follow the instructions according to manufacturer guidelines on how to connect these systems together—it typically only takes 10 minutes!
Step 7: Test Out Your Setup
Run a test before finalizing installation by using a laptop or tablet connected directly via a Wi-Fi connection (no need for cloud access) to ensure everything is working properly. If not, troubleshoot until you have successful functionality before continuing further with the installation steps!
Step 8: Secure All The Components In Place
Fasten all components and wires in place using the required equipment (screws, anchors, adhesives, etc.). Mount additional brackets around housing units, such as corners or edges, as necessary.
Adjust the camera position to account for potential sources of interference, such as trees, bushes, or bird nests, that may impede the field of vision from preferred vantage points!
Step 9: Do The Final Touch
Finally, customize settings according to preference, like motion detection sensitivity thresholds and other notification parameters. Also add special features such as facial recognition, object recognition, etc., depending on the specific capabilities available with the model purchased.
Can I Put A Camera At My Apartment Door Without Professional Help?
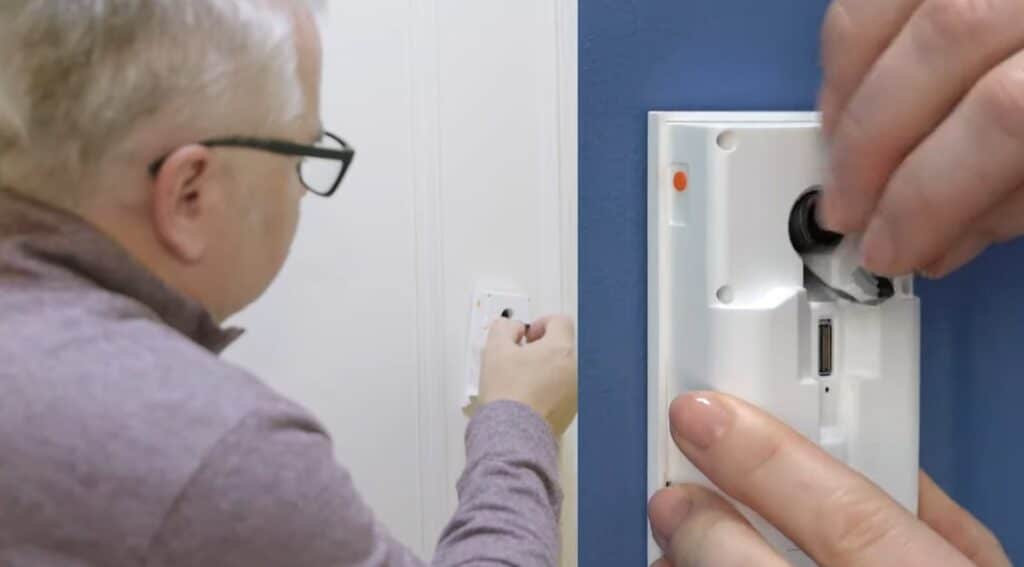
The answer to whether you can install a camera yourself at your apartment door without expert help largely depends on your level of comfort and expertise with DIY installations.
While installing a camera at your apartment door can be a relatively simple process, it’s important to note that you may encounter certain challenges along the way.
For instance, you may need to drill holes in the wall or run wires, which may require some technical skills. Additionally, depending on the type of camera you purchase, you may need to download and set up specific software on your phone or computer to access the footage.
However, many cameras come with detailed instructions and easy-to-use interfaces, which can make the installation process straightforward even for those without prior experience. Moreover, there are several resources available online, including installation guides and video tutorials, that can help you navigate the process.
Before attempting to install a camera yourself, it’s essential to check with your landlord or building management to ensure that you’re not violating any rules or regulations. Additionally, if you’re unsure about your ability to install the camera properly or encounter any issues during the process, it’s always best to seek the help of a professional to ensure that the installation is safe and effective.
In summary, if you’re comfortable with DIY installations and follow all necessary precautions, it’s possible to install a camera yourself at your apartment door. However, it’s important to assess your own abilities and seek professional help if needed.

Which is simpler for a do-it-yourselfer to install, a wireless or wired camera?
For a DIYer, a wireless camera is typically easier to install compared to a wired camera.
Wireless cameras don’t require any wiring or drilling, which can simplify the installation process. Instead, they rely on Wi-Fi or cellular data networks to transmit video footage, which can be accessed through a mobile app or website.
This means that you can place the camera wherever you want without worrying about finding a power source or running cables through walls or ceilings.
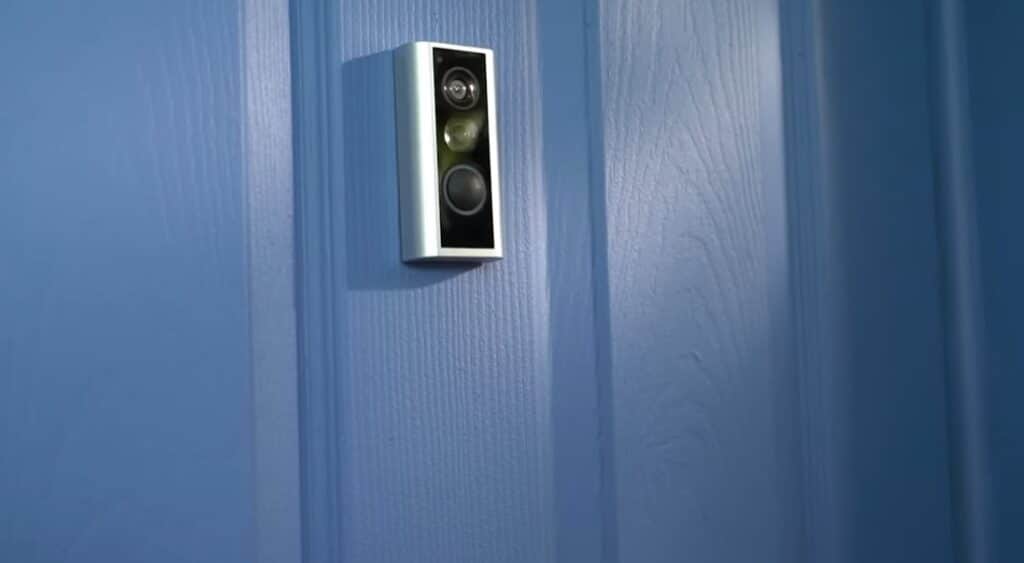
You can check the Ring Peephole Cam for your door for a wireless solution to your home security. It enables you to see, hear, and speak to visitors from anywhere.
In contrast, wired cameras require cables to connect the camera to a power source and a recorder or monitor, which can make the installation process more complex. This can involve drilling holes, running cables through walls, and connecting cables to the appropriate ports. It’s also important to ensure that the cable is long enough to reach the desired location of the camera.
That being said, it’s indispensable to note that each camera type has its own advantages and disadvantages. Wired cameras may provide more reliable video footage and may not experience interference from other wireless devices. Additionally, they may be more difficult to tamper with compared to wireless cameras.
You can check the Google Nest Doorbell wired camera for your door, as it can provide greater integration with Google Home apps or Amazon Alexa.
Ultimately, the decision to choose a wireless or wired camera depends on your individual needs and preferences. If you value ease of installation and flexibility in camera placement, a wireless camera may be the better option for you.
However, if you prioritize reliability and don’t mind the additional work of installation, a wired camera may be the better option.
End Note:
Installing a camera at your apartment door can significantly enhance the security of your home and provide peace of mind. By following the step-by-step process outlined in this blog post, you can easily and effectively install a camera at your apartment door without the need for professional help.
Whether you opt for a wireless or wired camera, it’s important to consider your individual needs and preferences and ensure that the installation is in compliance with any rules and regulations set by your landlord or building management.
With a camera installed, you can enjoy added security and protection for your home and loved ones.
